
Home»stone-veneer-stoney-creek-on

Trusted Stone Veneer Siding and Fireplace Surround Installation

Give your home the look of real stone. GTA Masonry installs natural and manufactured stone panels on homes across Stoney Creek, Hamilton, and nearby neighborhoods.

Stone veneer is a thin slab of natural quarry stone or a concrete panel made to look like stone. It is about one inch thick and much lighter than solid stone blocks. Because it is thin and light, it can be applied to most existing walls without changing the foundation. This means homeowners get the look of stone without the weight or the cost of full stone construction. GTA Masonry prepares the wall surface, installs moisture protection, and sets each panel with stone-grade adhesive mortar. We serve homes in Stoney Creek, Old Town, Stoney Creek Mountain, Winona, and Fruitland. Our work adds lasting curb appeal and home value that buyers notice.
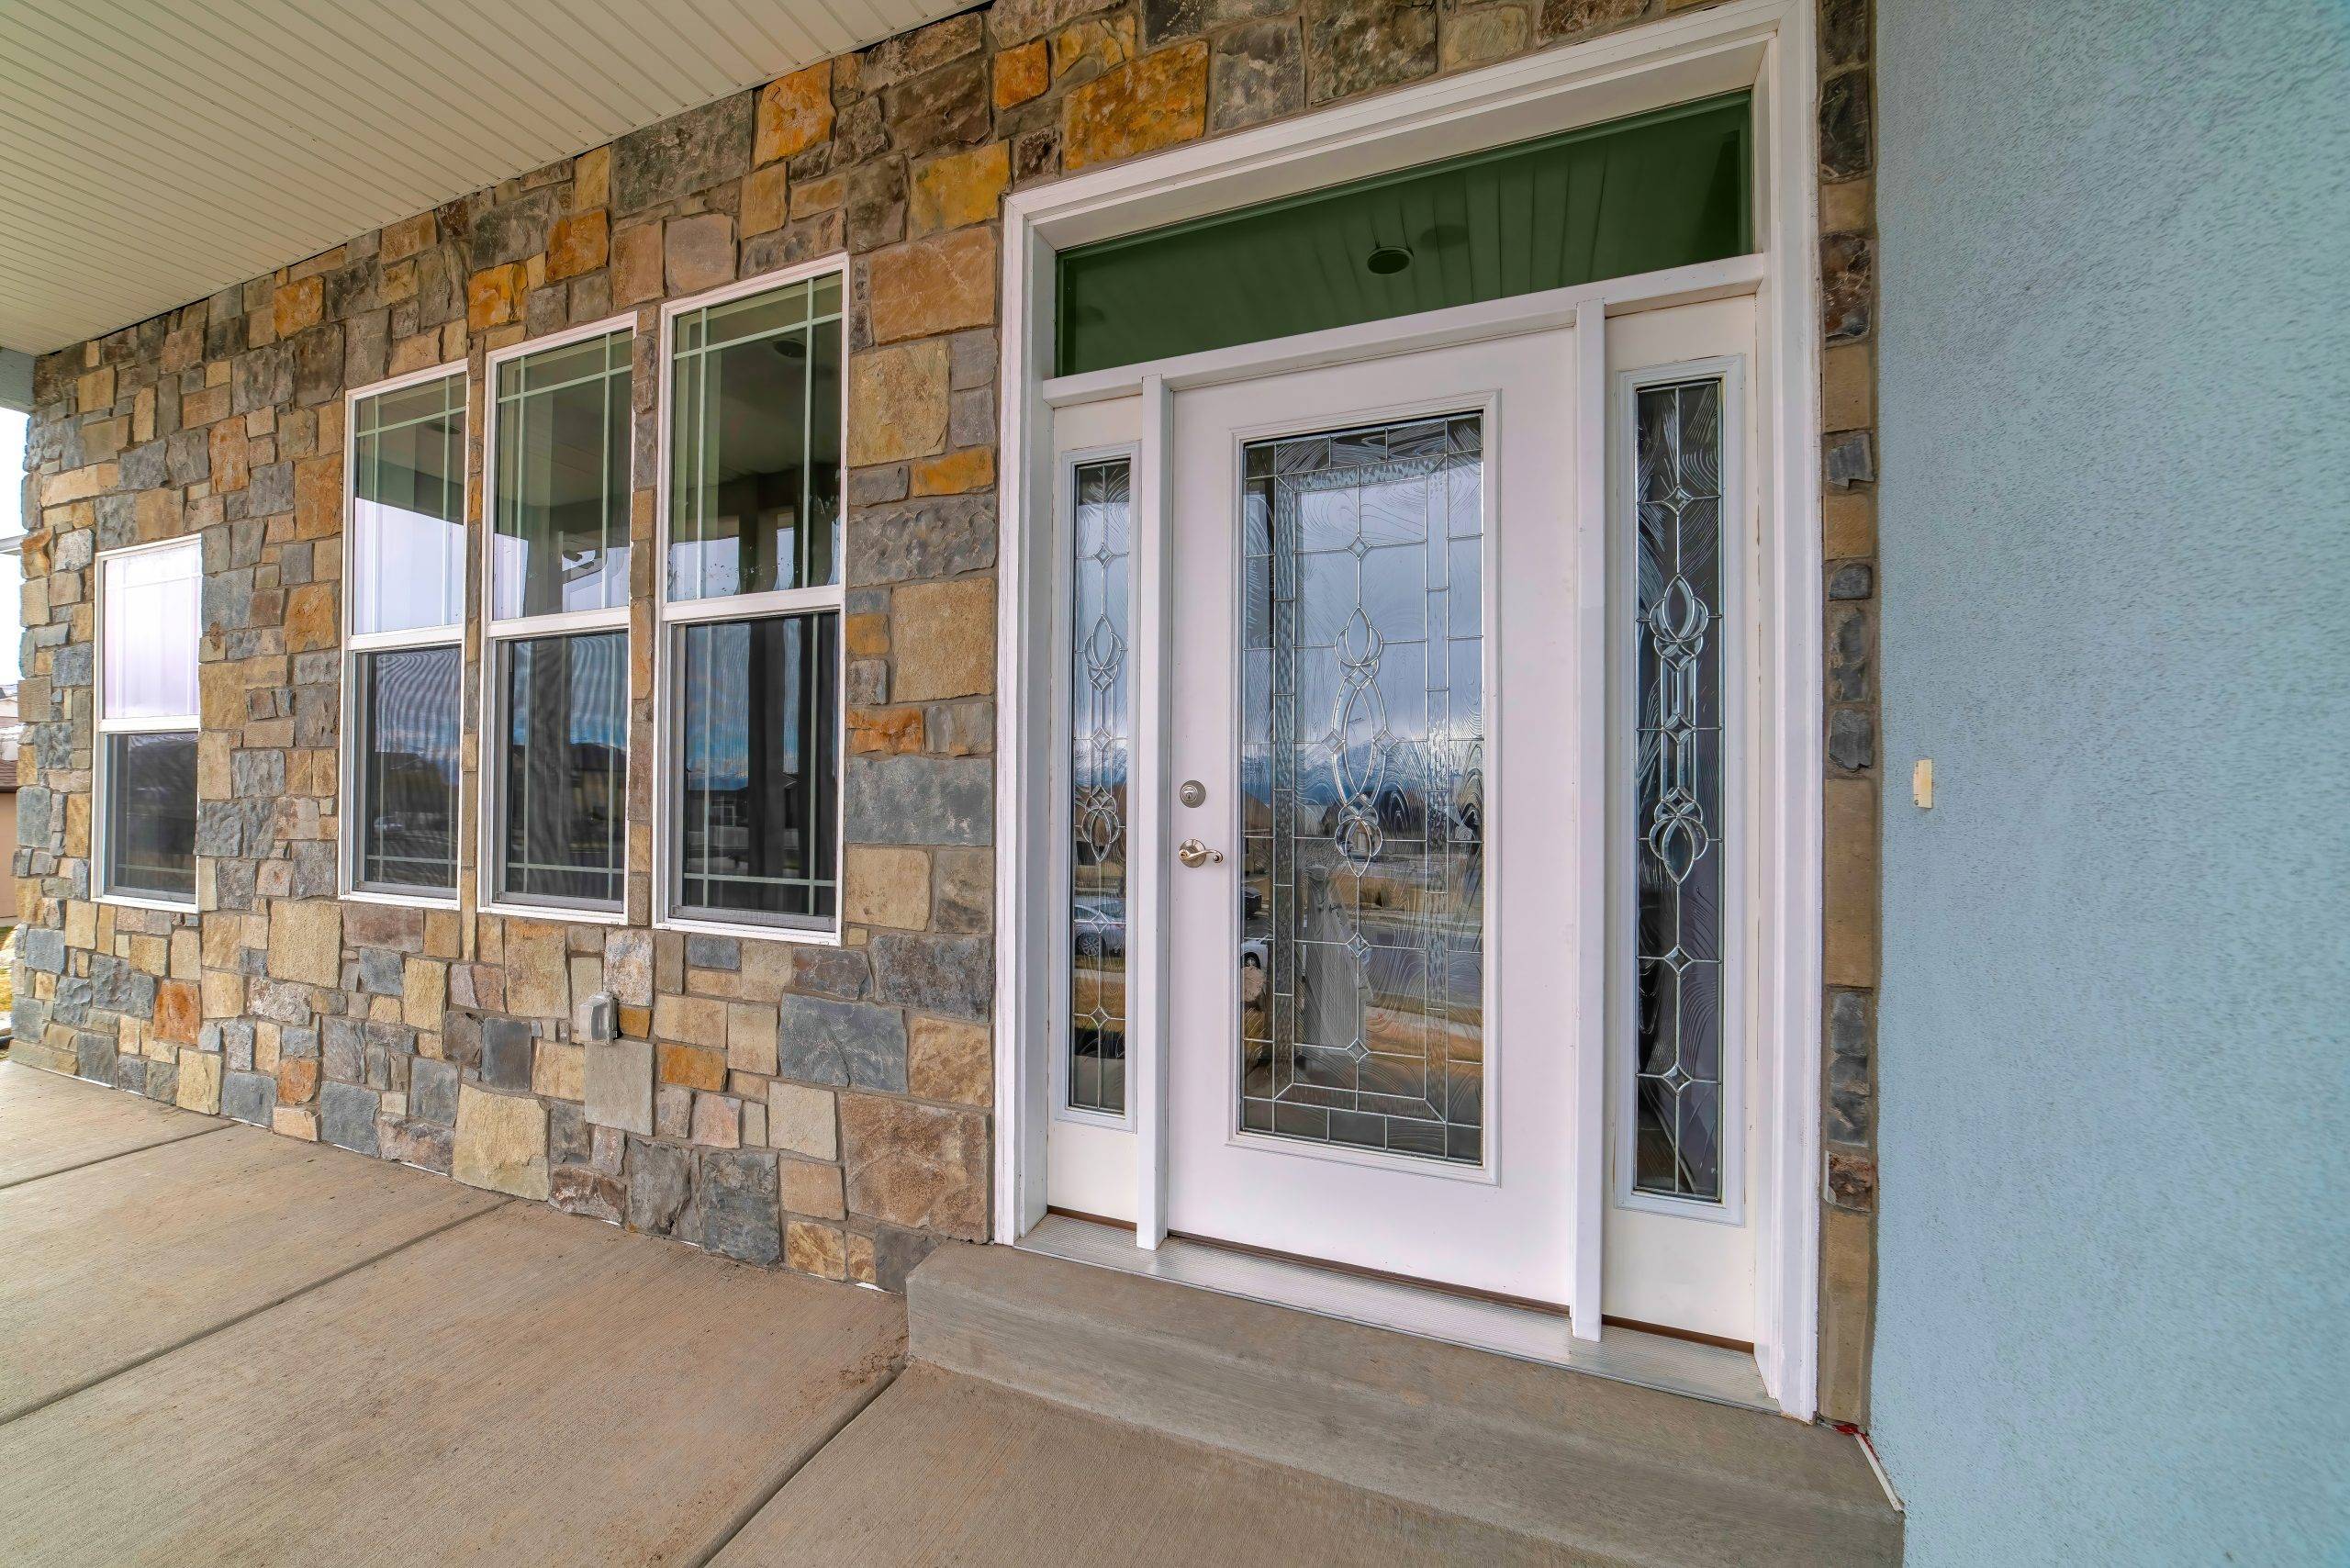
What Makes Our Stone Veneer Installations Last

Setting stone panels looks easy from the outside. But the backing work and mortar choices are what determine whether the stones stay on the wall for 10 years or 50. Here is how GTA Masonry gets this right.

We Do a Dry Run Before Anything Goes on the Wall

We lay every stone panel on a tarp on the ground before mixing mortar. We arrange sizes, shapes, and shades until the layout looks balanced. Next, we take a photo so we can follow the same pattern on the actual wall.

We Use Stone-Grade Adhesive Mortar

Regular cement mortar cannot hold stone veneer panels in place vertically. It is not sticky enough and the stones slide down. We use polymer-modified mortar that grips immediately and stays flexible through freeze-thaw cycles.

We Set Corners Before the Face Panels

Most installers leave corners until last and then try to fill them in. This creates ugly cut edges that give away the fact that the stone is not solid. Also, we install L-shaped stone veneer corners first, then tile inward so every edge looks like real quarried block.

We Fix the Backing Wall Before Touching the Stone

A stone facade is only as good as what it is stuck to. If the block or brick behind it has loose mortar or open cracks, the stone will pull away. We tuckpoint and repair the backing wall before any stone goes up.

Stone Veneer Installations We Handle

GTA Masonry installs natural and manufactured stone panels on interior and exterior walls. Here are the specific stone jobs we do for homeowners across Stoney Creek and Hamilton.

Natural Stone Veneer Siding

Natural stone veneer is cut directly from quarried limestone, sandstone, or granite slabs. Each panel has its own grain and color. We hand-cut pieces to fit corners, windowsills, and trim details. This gives your home a finish that cannot be replicated by manufactured products.

Manufactured and Faux Stone Panels

Manufactured stone is cast from molds taken from real stones. It is made from Portland cement and lightweight aggregates. Also, it costs less than natural quarry stone and comes in more consistent colors. We set these panels with the same mortar system we use for natural stone.

Stone Fireplace Surround Refacing

Many homeowners want to update an old brick fireplace without tearing the wall apart. We install stone veneer panels directly over the face brick. We add a matching stone mantle shelf and finish the edges with L-corner pieces. Next, this transforms the entire look of your living room.

Foundation and Basement Skirting

The exposed concrete block above your landscaping line is the first thing visitors see. We cover this area with durable faux stone skirting panels. Also, this protects the block joints from winter rain and makes the base of your home look finished and polished.

Grout Joint Tooling and Finishing

After the stones are set, the joints between them need to be filled and finished. We pipe color-matched mortar into every joint with a grout bag. Next, we tool the joints to match the depth and texture of the surrounding stone for a clean, unified look.

Backing Wall Parging and Scratch Coat

Smooth concrete block walls do not have enough texture for veneer mortar to grip. We apply a rough scratch coat of sand-cement mortar over the block first. We score it with a notched trowel. This creates a surface the mortar can mechanically bond to.

Stone Veneer Sealing and Waterproofing

Lake Ontario weather drives moisture into porous stone surfaces over time. We apply a breathable siloxane sealer to all exterior stone work after installation. This stops water from soaking in while letting the wall breathe from the inside.

Wire Lath and Moisture Barrier for Wood Frame Walls

Homes with wood stud walls need extra prep before stone goes on. We attach a waterproof house wrap over the sheathing, then nail galvanized wire lath over it. Also, the wire lath gives the scratch coat mortar something to grip onto.

How We Install Stone Veneer: Step by Step

Here is what happens from the time we pull into your driveway to the time the last stone is sealed.

01

Step 1: Wall Condition Assessment

We walk the backing wall and check for open cracks, loose mortar, or damp spots. We mark problem areas and fix them before any stone work begins. This protects the investment of the installation.

02

Step 2: Moisture Barrier and Wire Lath

On wood-frame walls, we roll out waterproof barrier paper over the sheathing and staple it flat. We then attach galvanized wire lath over the top. On a concrete block, we skip straight to the scratch coat.

03

Step 3: Scratch Coat Application

We spread a thin layer of mortar over the backing wall using a flat trowel. We score it with a notched tool to create horizontal lines. Next, we let it cure for 24 hours before placing any stone.

04

Step 4: Pattern Layout on the Ground

We unpack the stone boxes and arrange the panels on a tarp. We mix pieces from different boxes and balance out the colors. Also, we make sure the corner units are sorted and ready to go up first.

05

Step 5: Corner Setting

We start at the outside corners of the wall and work in. We apply mortar to the back of each L-shaped stone veneer corner and press it to the wall firmly. Next, we check it with a level before moving to the face panels.

06

Step 6: Face Panel Installation

We back-butter each face stone with polymer-modified mortar and press it against the scratch coat. We wiggle it slightly to release air and then hold it steady for a moment. We work from the bottom of the wall upward.

07

Step 7: Grouting, Sealing, and Cleanup

We pipe color-tinted mortar into every joint. We tool the joints once the mortar firms up. Next, we brush away excess mortar and apply a breathable sealer over the entire stone face. We clean the site and walk through the finished job with you.

Stone Veneer Questions Homeowners Ask

Natural stone veneer is cut from actual quarried stone, so every piece has a unique pattern and weight. Manufactured stone is cast from concrete poured into molds made from real stones. Manufactured panels are lighter and more affordable, but natural stone tends to have more color depth and a longer lifespan.

No. Paint creates a smooth surface that mortar cannot grip. We must sandblast the paint off or attach galvanized wire lath over the paint with masonry screws. The wire lath then holds the scratch coat, which holds the stone.

No, if installed correctly. The key is using polymer-modified mortar instead of standard cement. Also, we apply a siloxane sealer after installation so water cannot soak into the joints and freeze behind the panels.

Most residential stone veneer jobs on single-family homes do not require a permit. However, if the project involves a commercial building or changes to the structural envelope, the City of Hamilton may ask for one. GTA Masonry reviews the project scope and handles permit applications if needed.

Use a garden hose and a soft bristle brush once a year. Do not use pressure washers, acid-based cleaners, or bleach. These products erode the grout joints and discolor the stone panels. A gentle rinse is all it takes to keep the surface looking clean.

A scratch coat is a thin base layer of mortar applied to the backing wall and scored with grooves. It gives the polymer-modified mortar behind each stone panel a rough surface to bond to. Without it, the stones have nothing to grip and will slide or fall off.

Yes. We set the stone panels over the visible face brick on the outside of the fireplace only. We do not touch the firebox or the flue. The decorative surround area where we work does not get hot enough to damage stone veneer mortar.

Dry-stack is a style where the stone panels are pressed tightly together with no visible mortar joints between them. It looks like the stones were stacked on top of each other without cement. Achieving this look requires careful sizing and cutting of each panel so the joints are nearly invisible.

Ready to Transform the Look of Your Home?

A fresh stone facade changes the way your home looks from the street. It also protects the wall underneath. Call GTA Masonry today to book a free inspection. We will bring panel samples and give you a clear written estimate.

GTA Masonry
138 MacIntosh Dr, Stoney Creek, Hamilton, ON, L8E 4E3
Phone: (289) 272-5442 | Email: info@gtamasonry.ca